Getting Started
Welcome to Equo! First things first, before you get started with Equo, you need to have an application to build and distribute. If you haven’t created one yet, read our [Creating an application] section or follow the step-by-step tutorial on how to create an app with our SDK. Either way, it only takes a few minutes to create your first application.
Dashboard
The Equo Dashboard is a workspace for your team to build, manage, distribute and collaborate on your desktop applications. You connect your application directly to its GitHub, Gitlab, or Bitbucket repository (public or private) and then Equo automatically generates builds and installers ready for distribution. Most installers will be generated in only a few minutes. Any time a new commit is pushed to the application repository, a new installer will be generated for you. This creates a fast iteration cycle for your desktop applications.
Under the hood Equo handles all the authentication, building, security, code signing and distribution, so all you need to worry about is coding your application. Maintaining Equo apps is straightforward. Current applications get auto-updates and the latest security patches. We are also building capabilities to observe and monitor applications.
Creating an Application
You can create a new application from the Equo Dashboard by clicking on the "Create New Equo app" button.
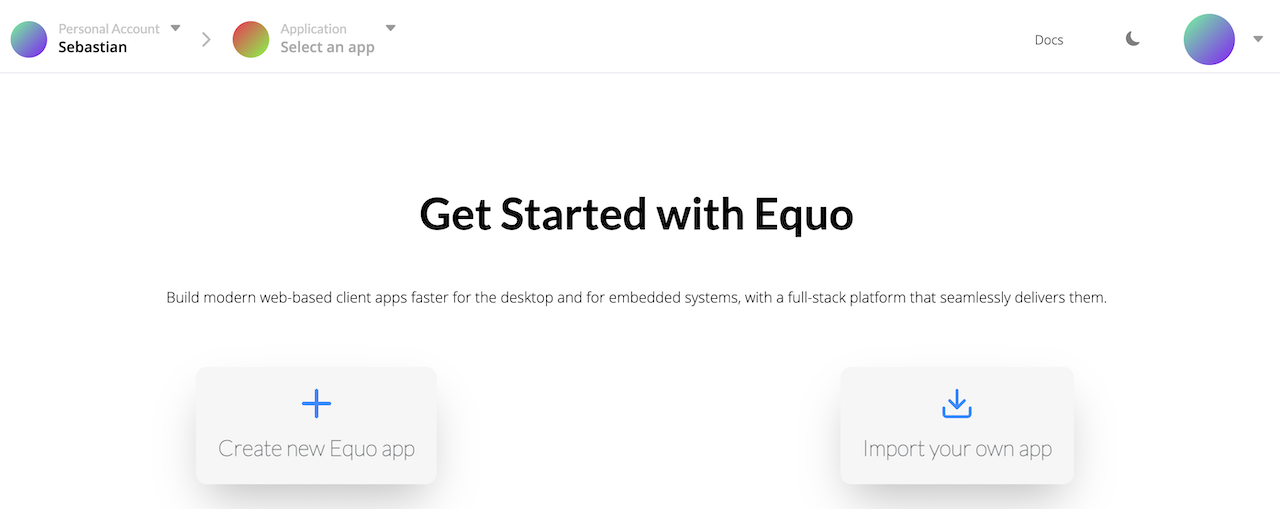
You can either import from an existing Git repository or from one of our templates.
Application Settings
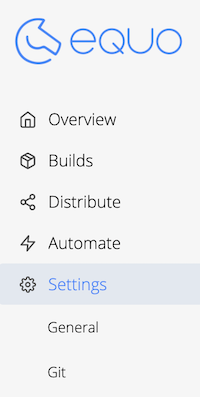
To edit application settings, choose an application from the Equo dashboard.
Then, select the application Settings tab on the sidebar:
Application Name
Application names can only consist of alphanumeric lowercase characters. Hyphens can only be used in between the name.
Built-in workflow automation
| This feature is only available on the Professional and Enterprise plans. You may create an organization to start a 14 day trial of the plan. |
Built-in workflow automation enables you and your organization to use the full power of Equo CI/CD infrastructure. Every time this feature is enabled Equo will issue a new Release (installer) with Build for every commit made to your connected Git repository.
Deleting an Application
| Deleting your application will permanently delete its repository, builds, releases, and all related resources. |
To delete an application, choose one from the Equo Dashboard. Then, select the Settings tab from the sidebar:
You’ll then see the Delete application section. Confirm that you’d like to delete the application and click the Delete button.
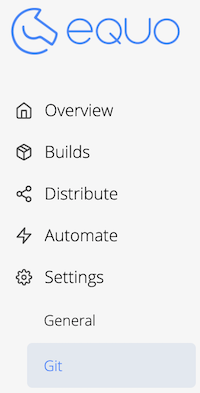
Git
Select the Git menu item from your application Settings page in order to edit your application’s Git settings.
If you haven’t connected Equo with your Git provider (GitLab, GitHub or Bitbucket) yet, you can do so from here.
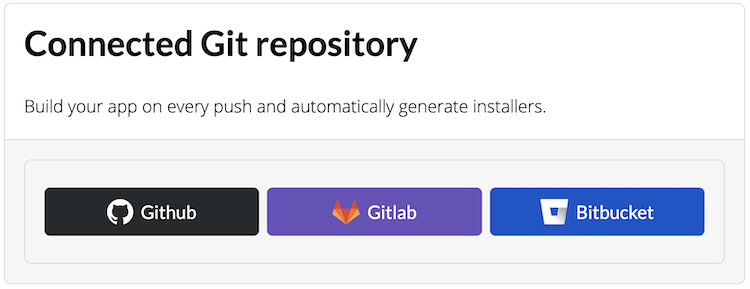
Then, you have to find the Git repository by searching for the name of your repo. After that, click on the row that contain your repository name.
Once your application has been connected to a Git repository, you will see it in the Git settings page.
Code Signing
| This feature is only available on the Professional and Enterprise plans. |
When you enable this feature Equo will automatically sign the generated installers with the certificates you upload for your organization.
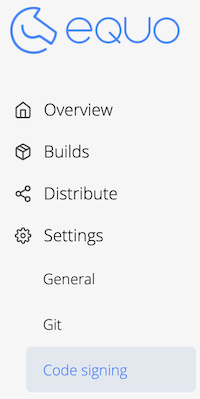
Select the Code signing item from your application settings in order to enable the code signing feature:
| We are also working on a feature that will allow users to use our own certificates to sign their apps. Then you won’t need to configure any certificate at all to sign your application. Please contact us if you want to try this feature. |